SQUARES ART – FRAME SYSTEM: THE DIY VERSION …

I developed the SQUARES ART – FRAME SYSTEM to enable initiatives and projects in the social and environmental sectors to be carried out in a particularly eco-friendly way.

The material used is photo board made from recycled waste paper, which reduces water consumption and emissions during production. The ‘Made in Germany’ photo board has been awarded the ‘Blue Angel’ eco-label and has been tested by TÜV Rheinland for harmful substances and heavy metals.

The picture frame system is available as a DIY kit in the form of a high-quality die-cut sheet, which allows you to create a very practical and environmentally friendly picture or photo frame in just a few minutes by following the assembly steps described below.

We hope you enjoy the SQUARES ART – FRAMESYSTEM and wish you every success!

ASSEMBLY INSTRUCTIONS – STEP 1 …

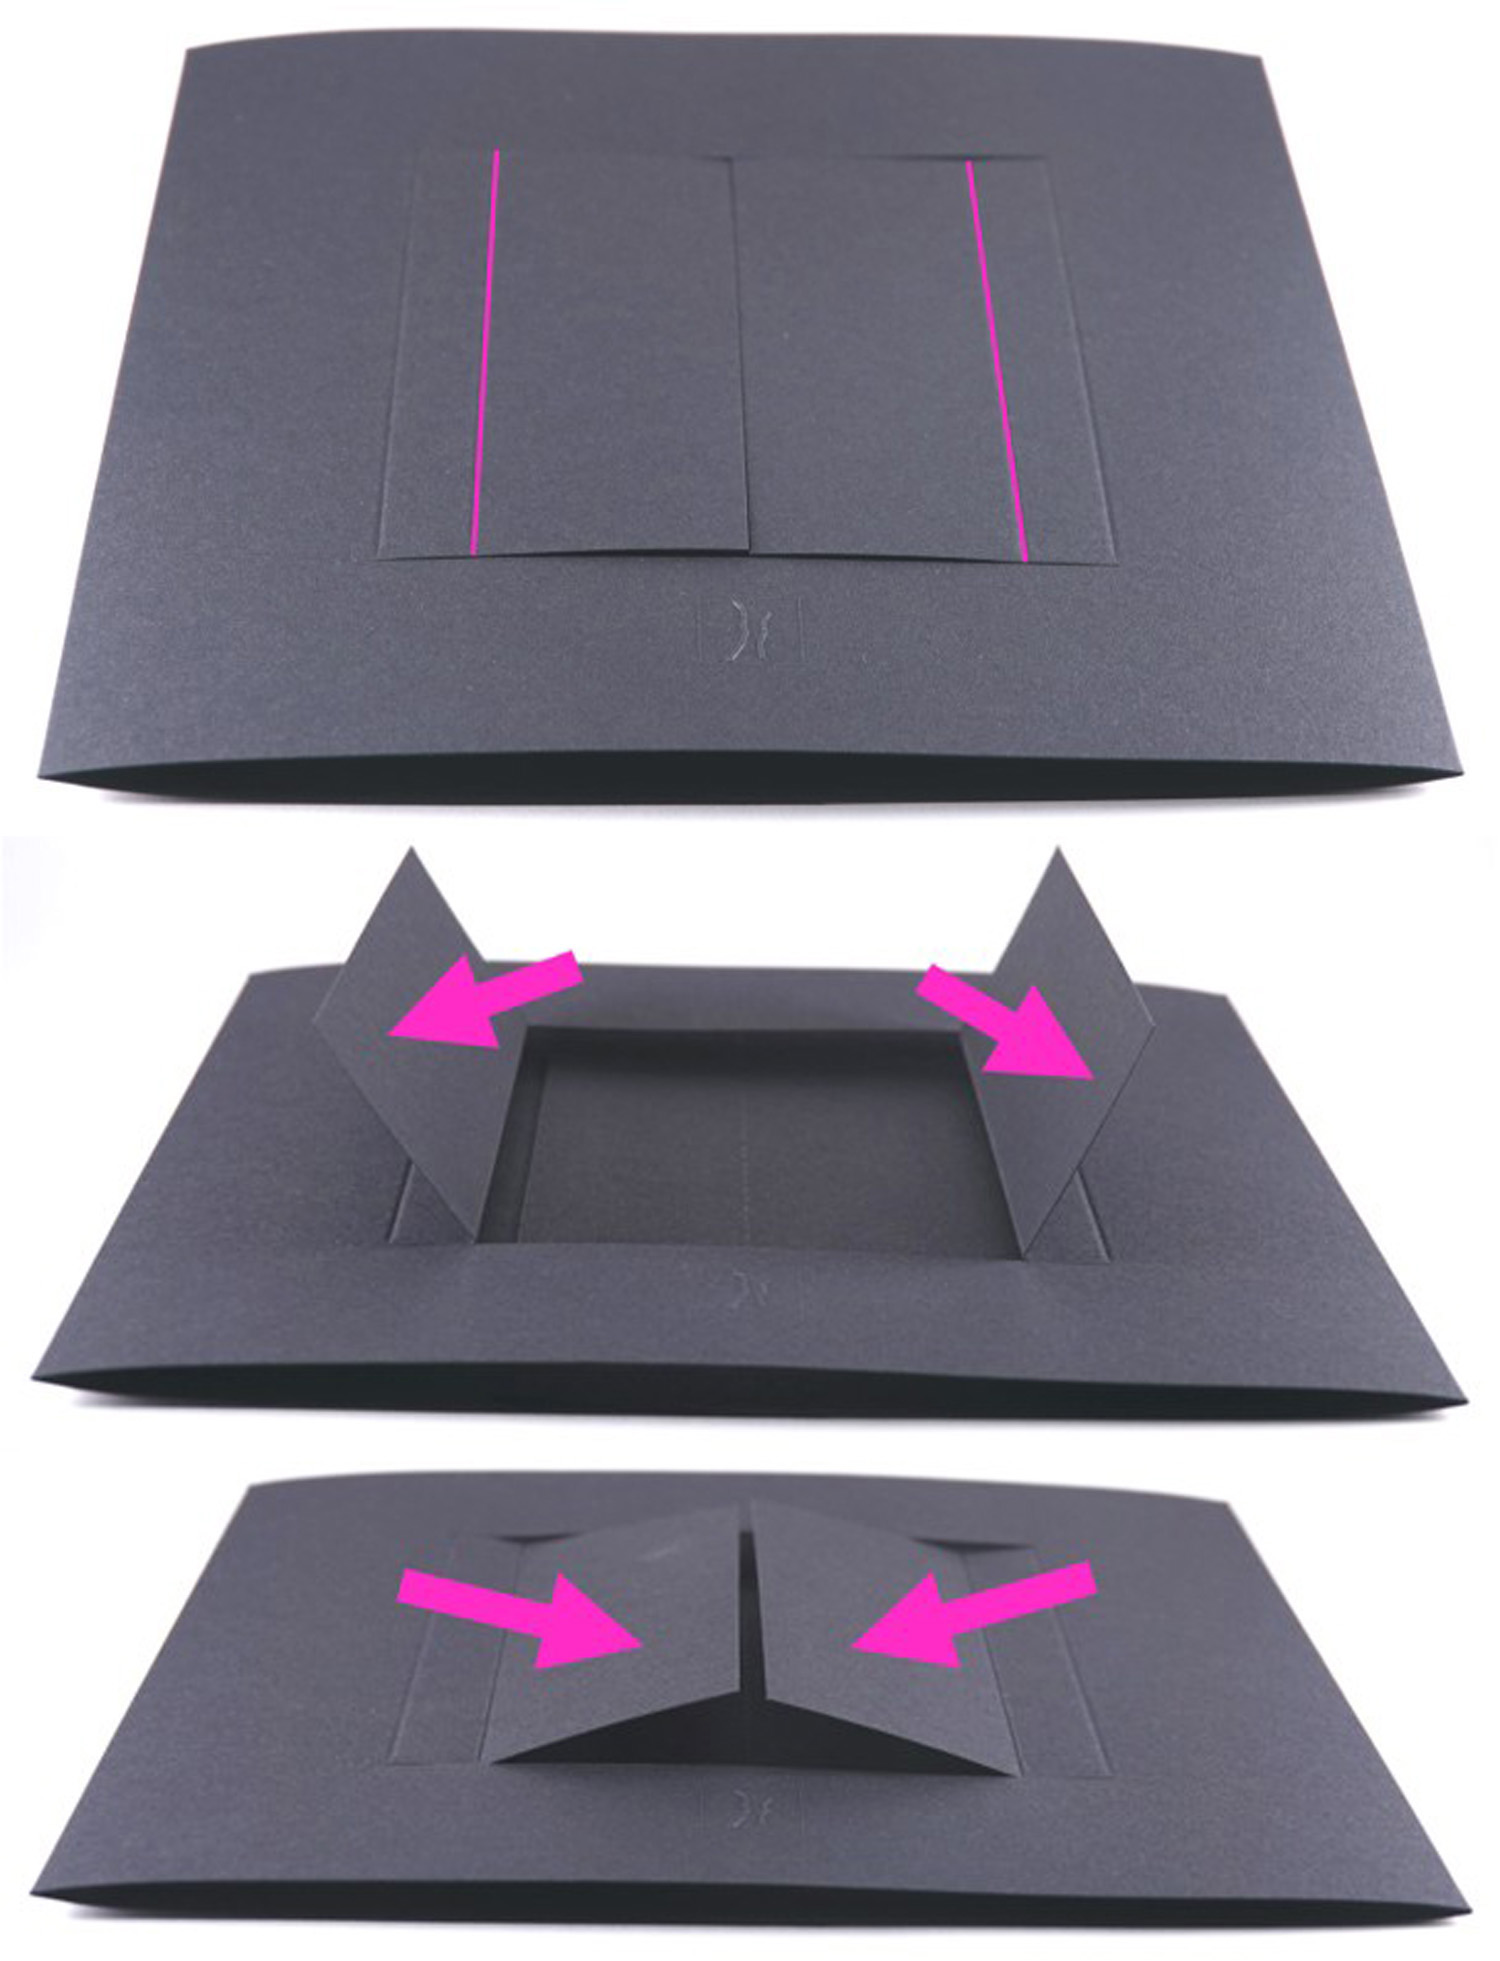
Place the die-cut sheet face down on a flat, clean surface – the sharply bevelled corner, marked with the green arrow, will then be at the top left.

Fold the two outer sections inwards by 180° along the two score lines marked in red.

Then press the two sections firmly downwards along the two score lines to create sharp creases.

ASSEMBLY INSTRUCTIONS – STEP 2 …

Apply adhesive to the left-hand die-cut section, to the left of the perforated line (no wider than 4 mm, so that the adhesive does not get onto the perforated line and is not visible on the back of the frame system later on).

Then press the adhesive surface firmly until the two sections are securely bonded together – you can use a book, for example, to help with this.

ASSEMBLY INSTRUCTIONS – STEP 3 …

Turn the frame system on its side so that the monogram embossing (marked with the yellow arrow) is facing downwards.

Fold the two inner sections outwards by 180° along the two outer crease lines marked in purple.

Then press the two sections firmly downwards along the two crease lines to create sharp folds.

ASSEMBLY INSTRUCTIONS – STEP 4 …

Bend the two sections that have already been folded back slightly and fold them outwards by 180° along the two groove lines marked in yellow, so that the two sections take on an angular shape.

Then press the two sections firmly downwards along the two crease lines to create sharp folds.

ASSEMBLY INSTRUCTIONS – STEP 5 …

Bend the sections that have already been folded back inwards again.

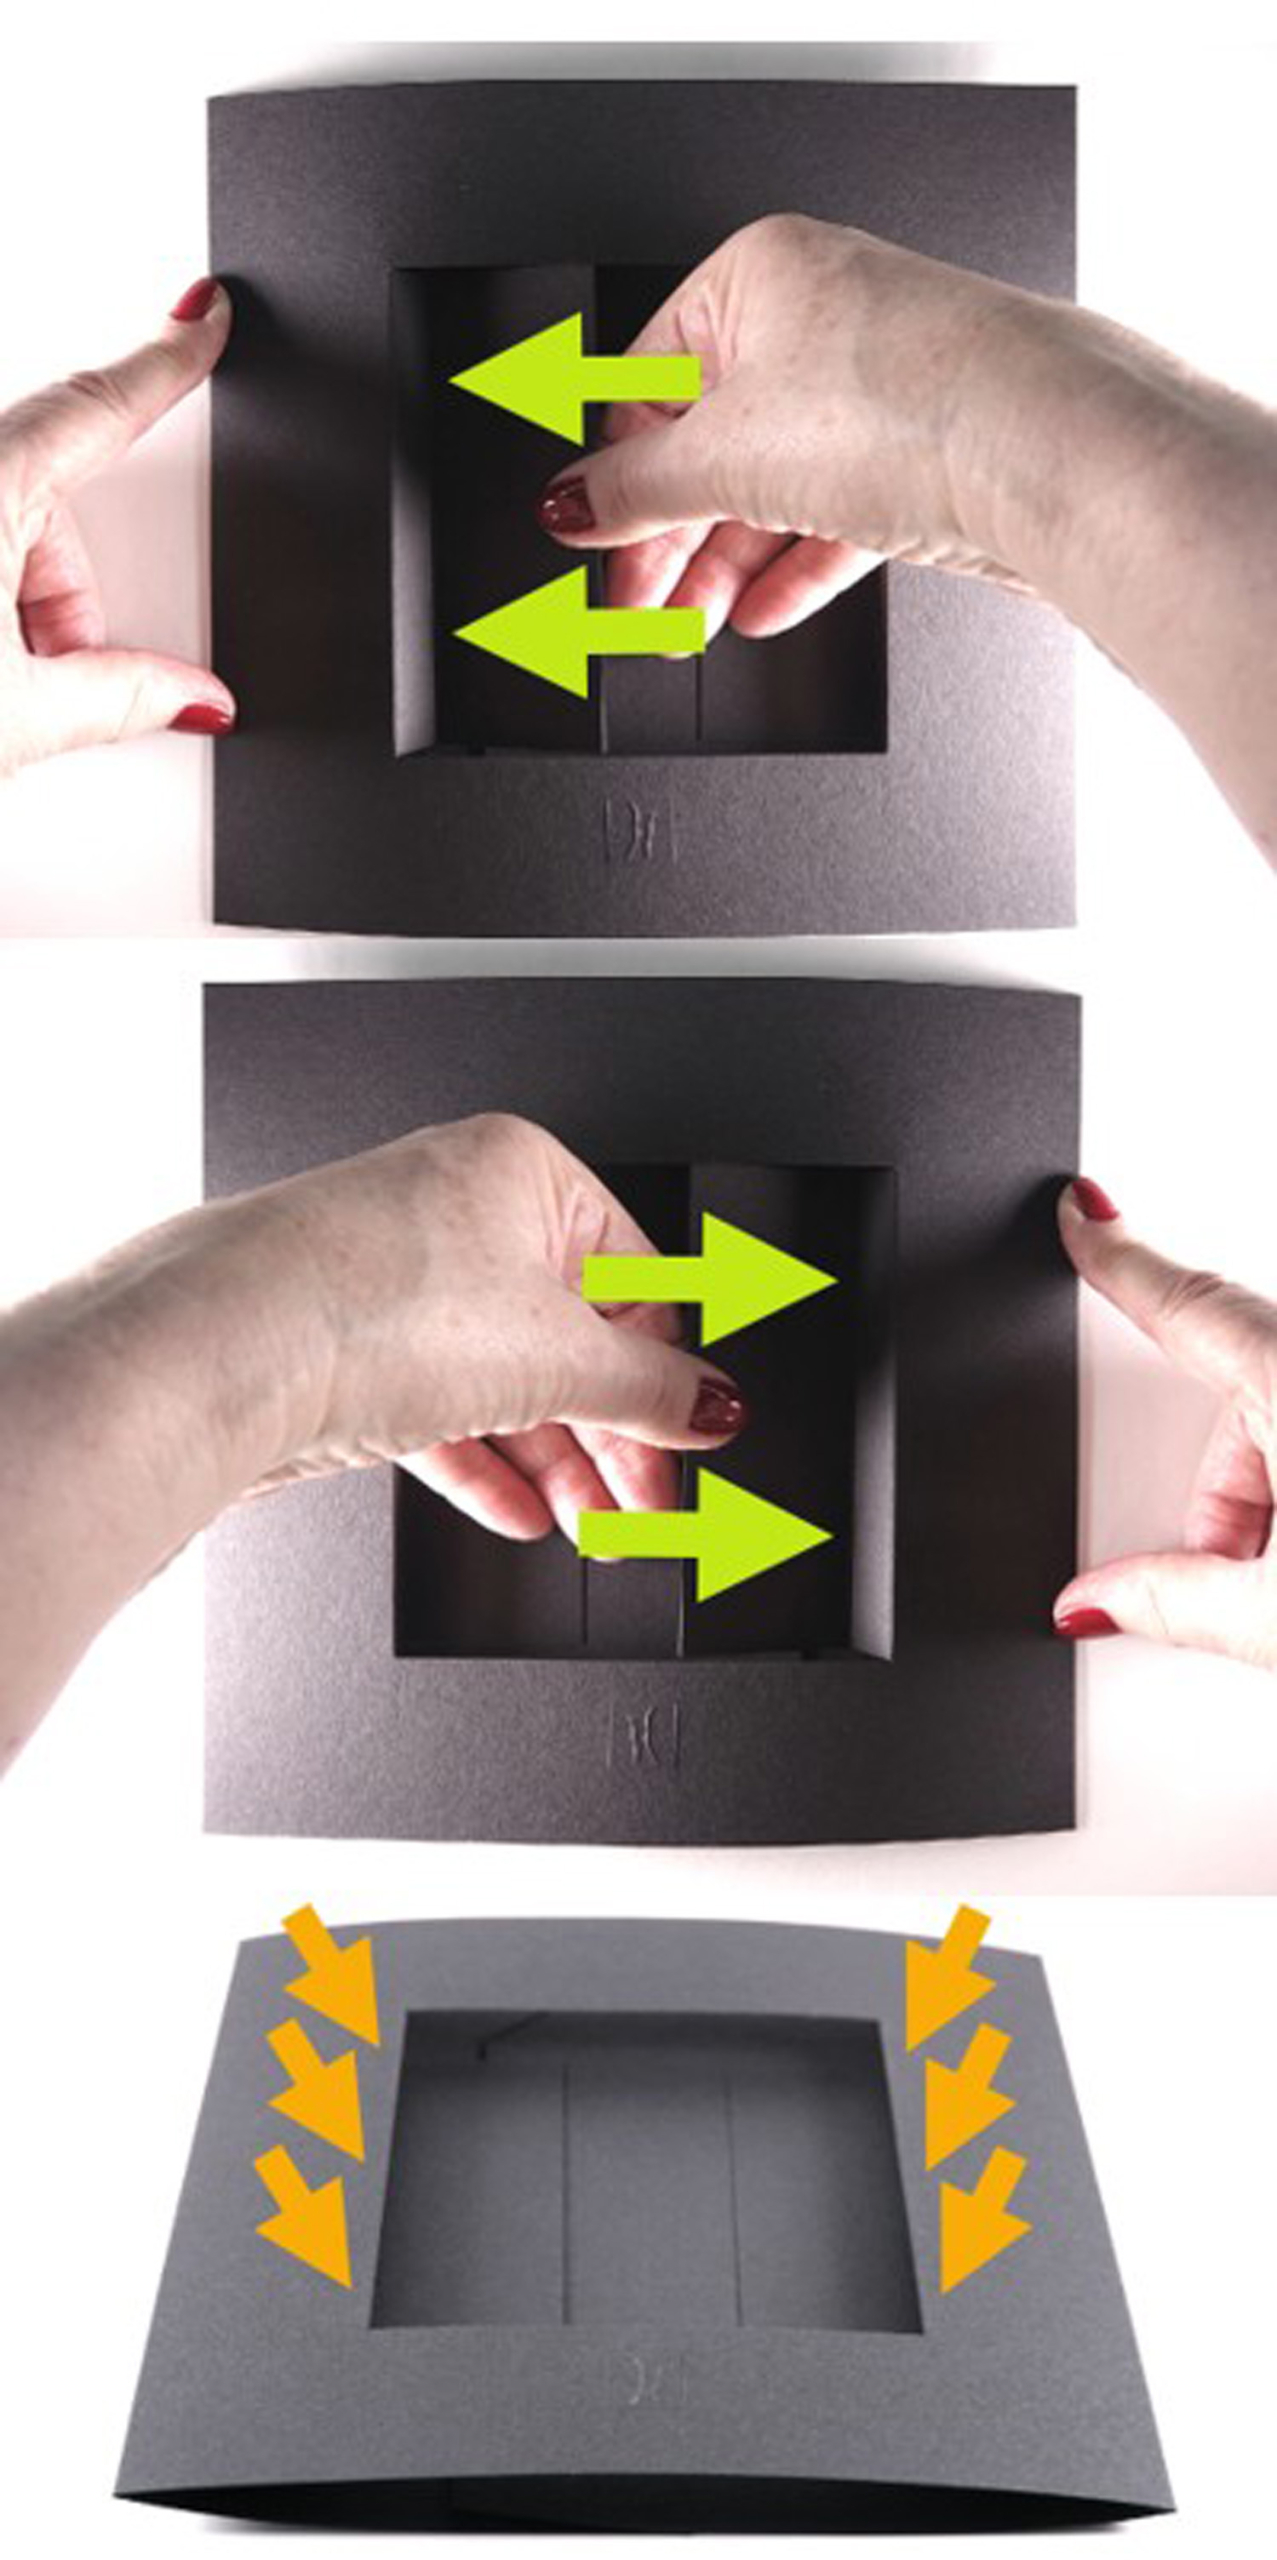
Hold the frame steady at the side with one hand and, with the other hand, push the larger section – within the frame system – towards the outer edge.

Then press the two angular sections inside the frame system firmly down by applying pressure from above along the groove lines (marked with orange arrows) to create sharp creases.

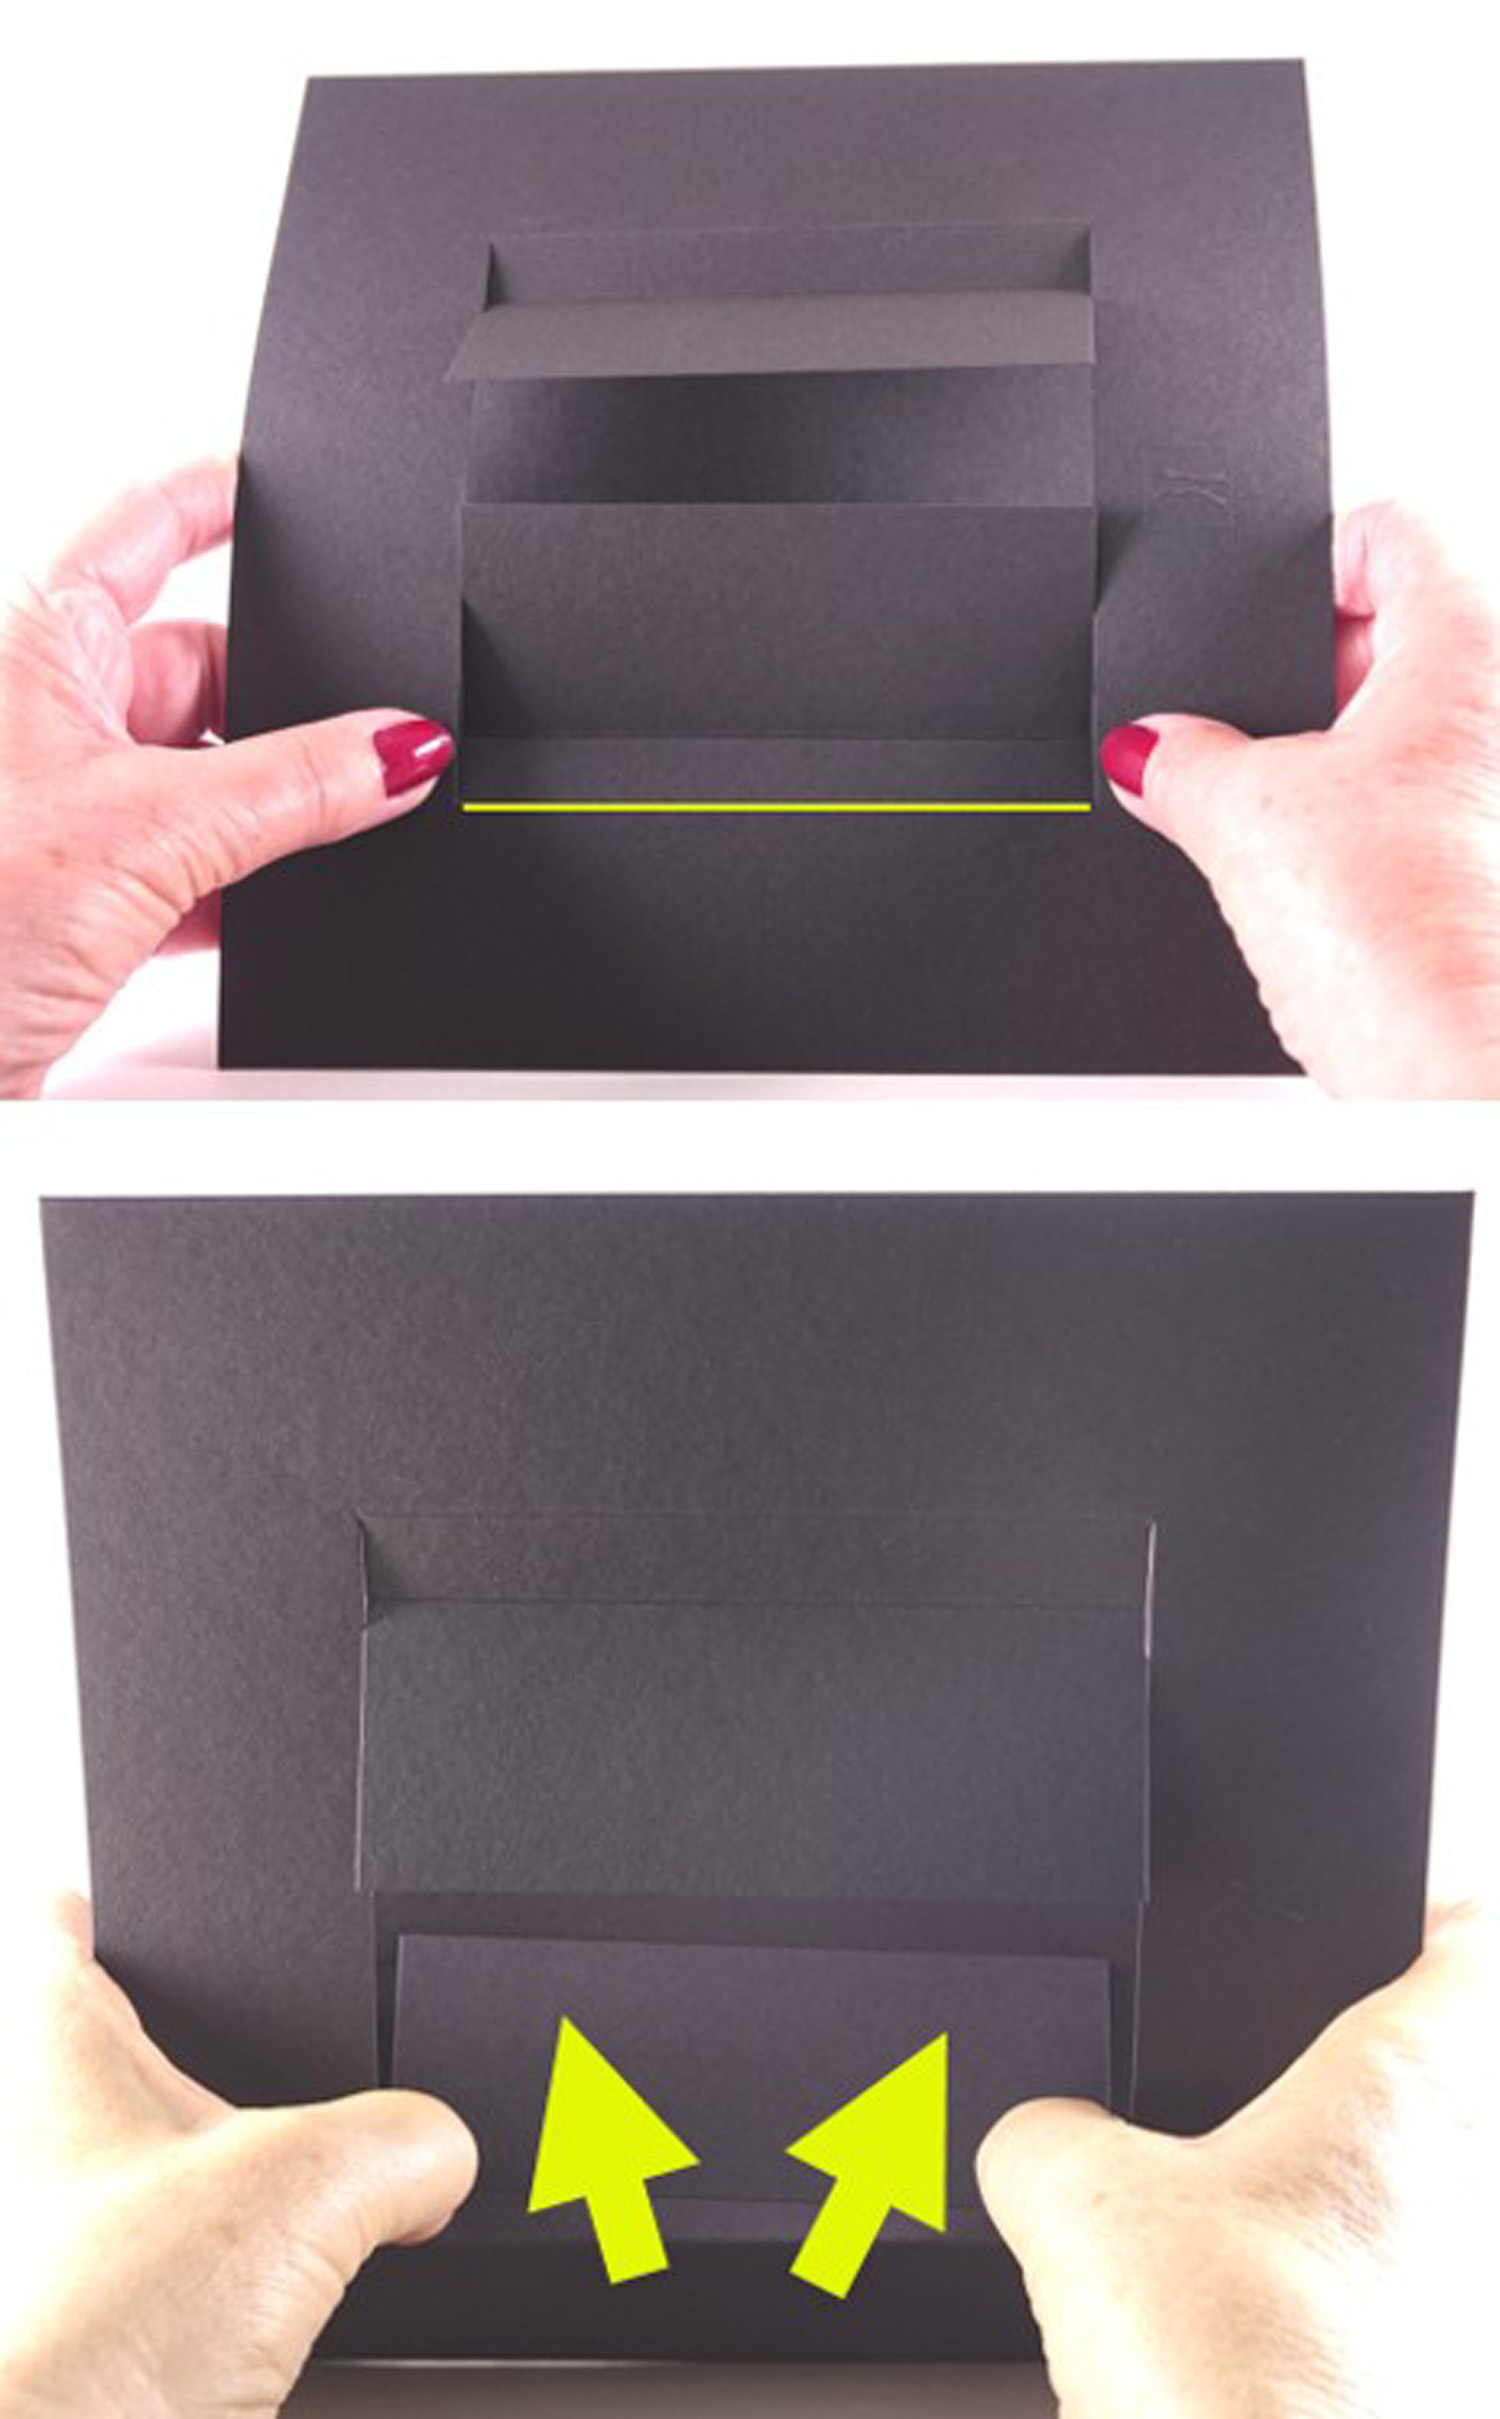
ASSEMBLY INSTRUCTIONS – STEP 6 …

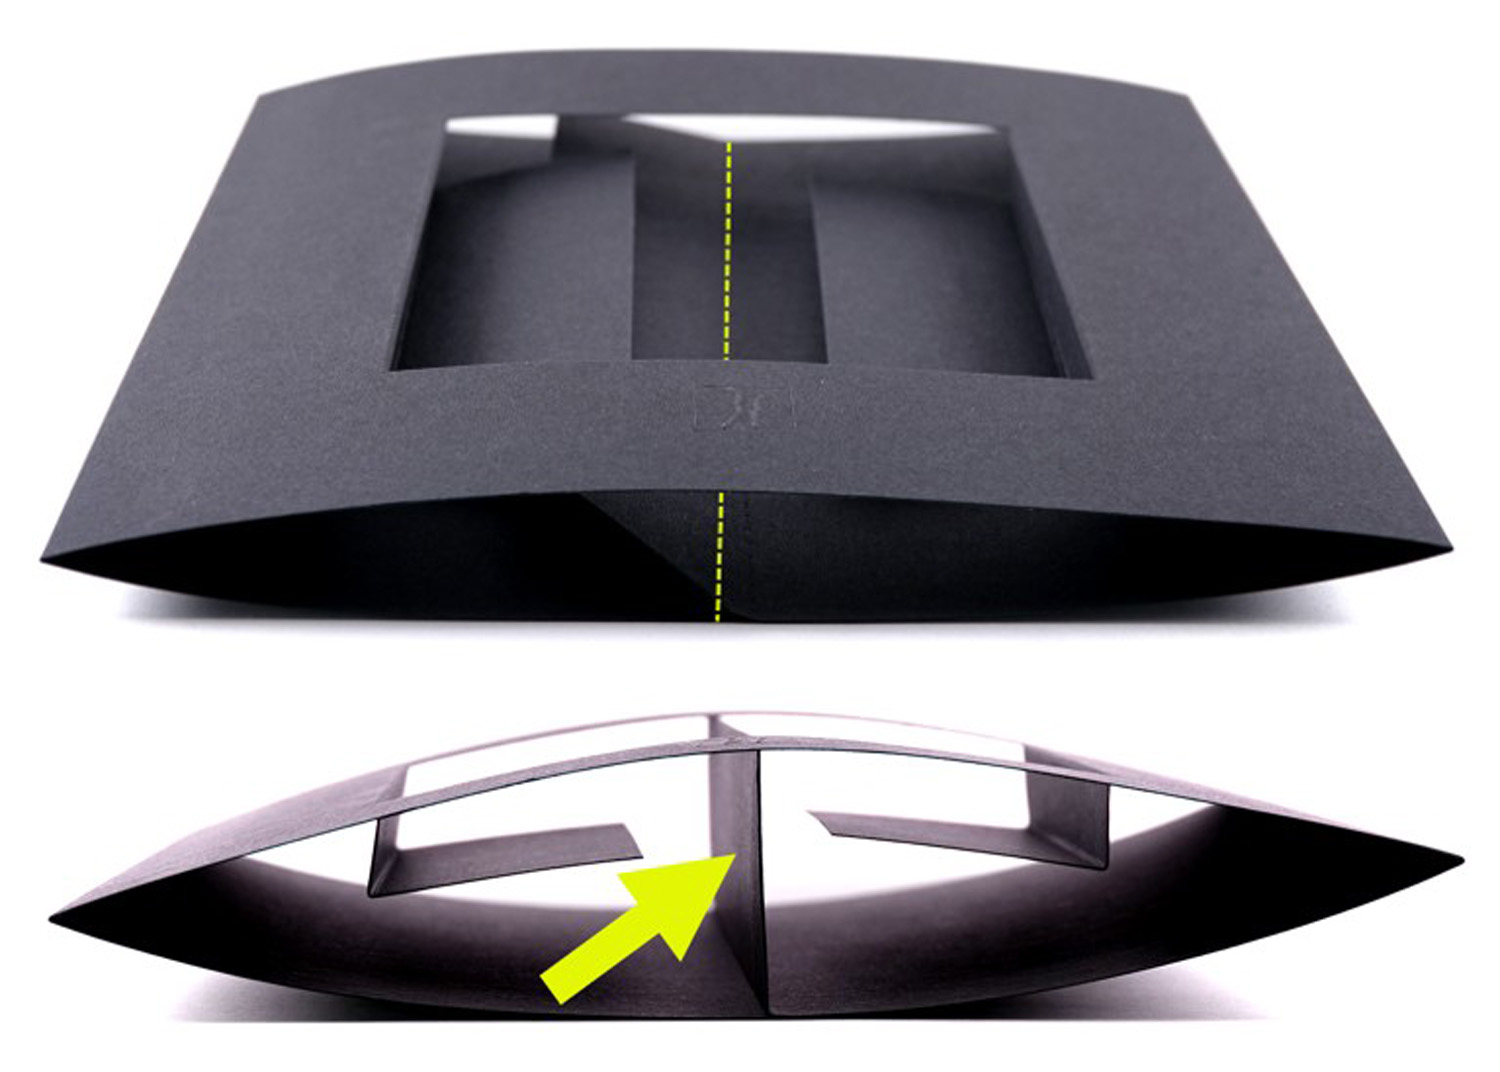
Now, inside the frame system, fold the left-hand section upwards by 90° along the perforated line (marked in yellow) (see yellow arrow), and the frame system is ready for use.

INSERTING THE IMAGES …

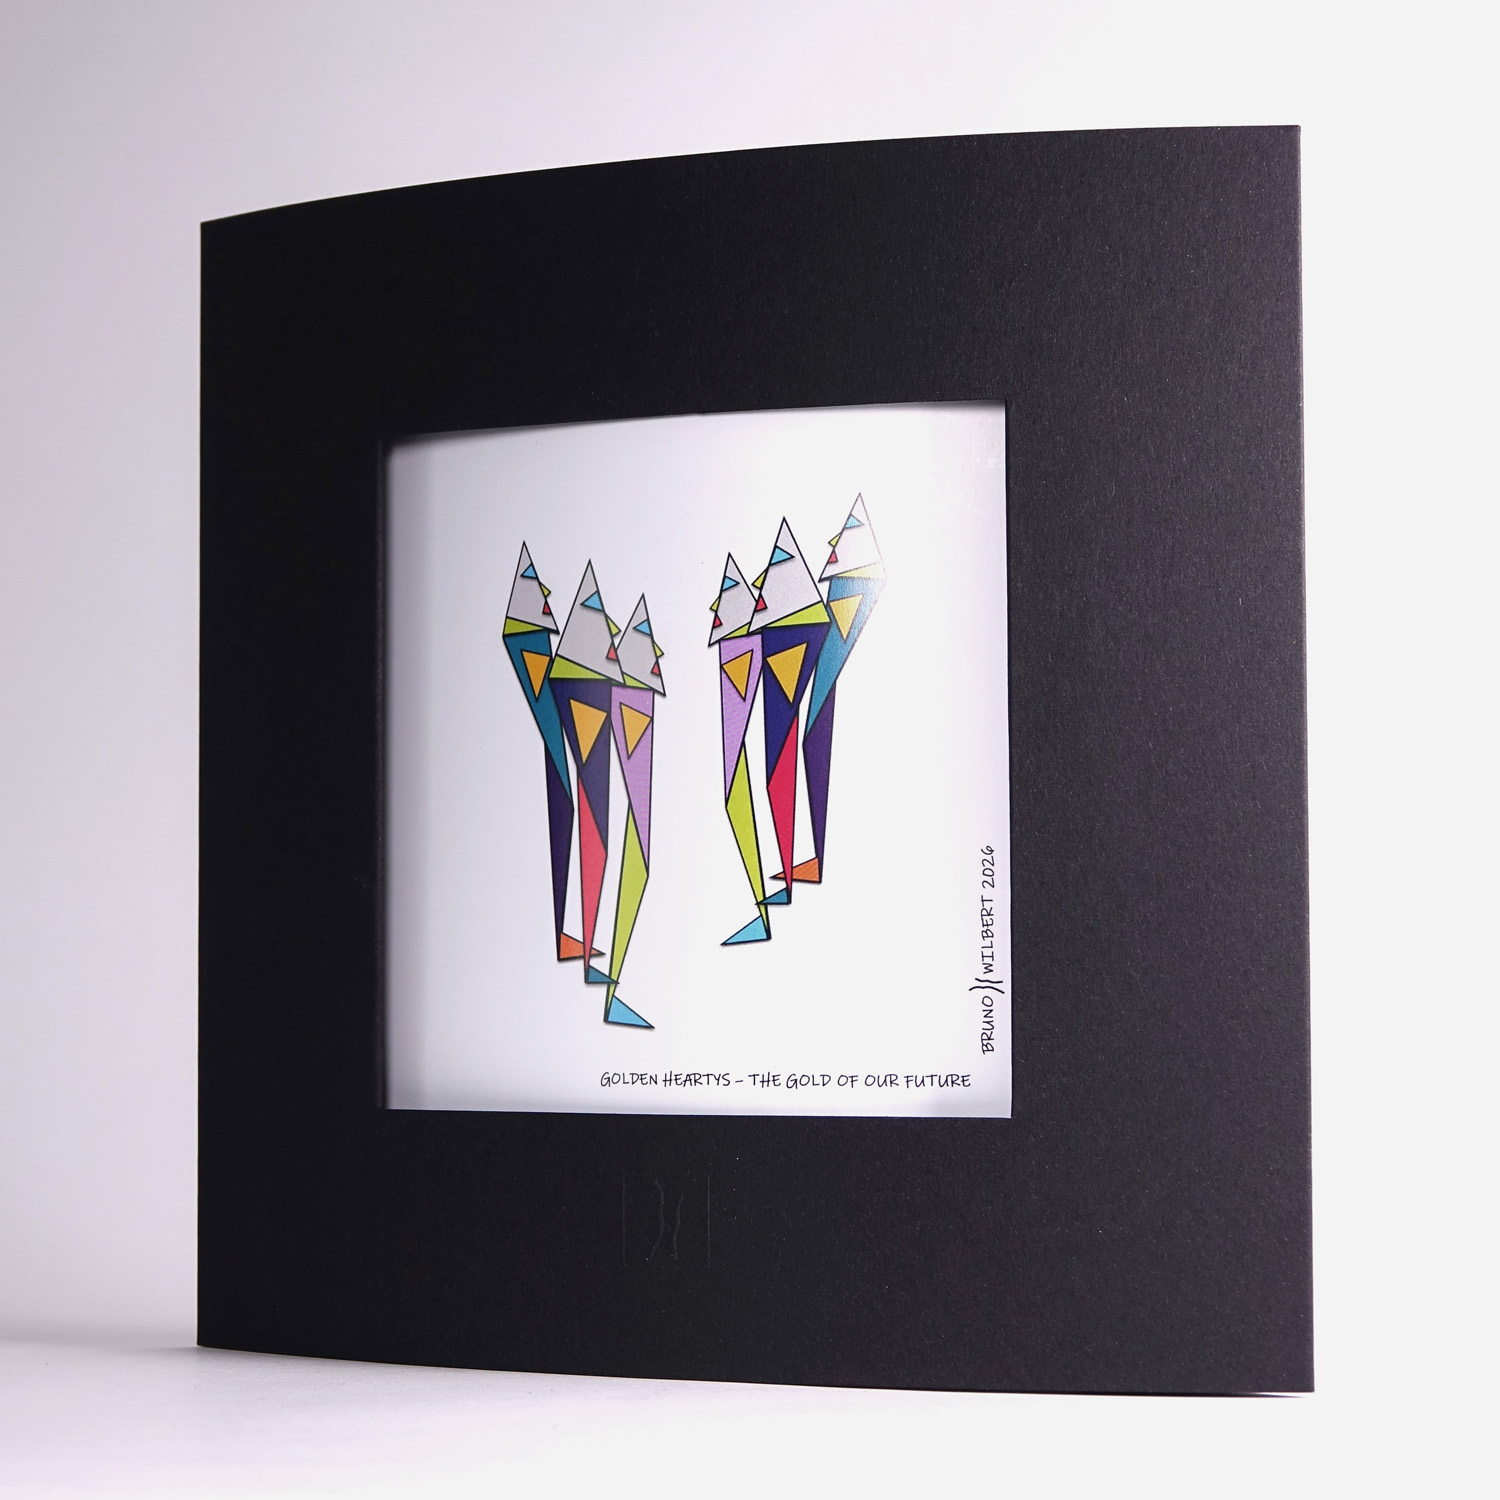
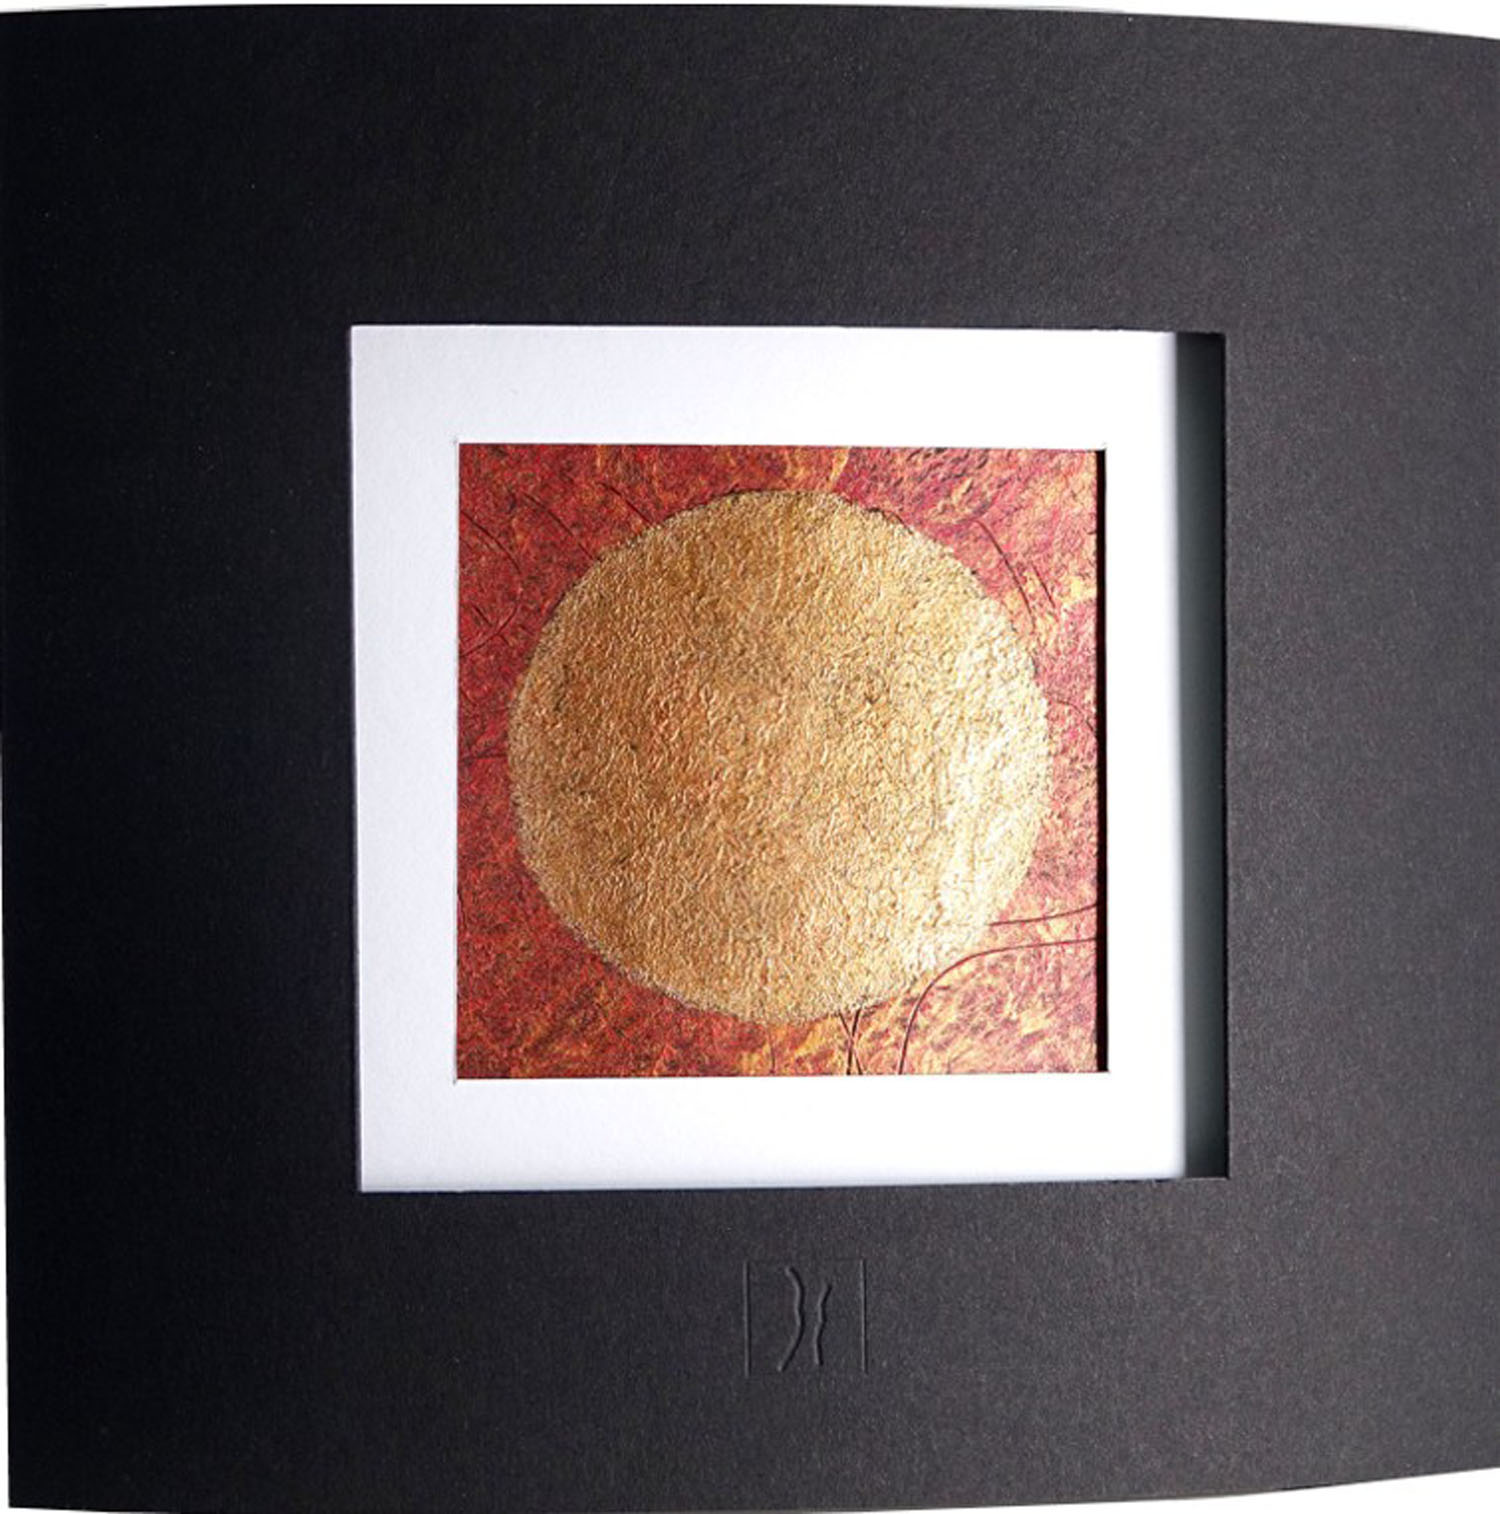
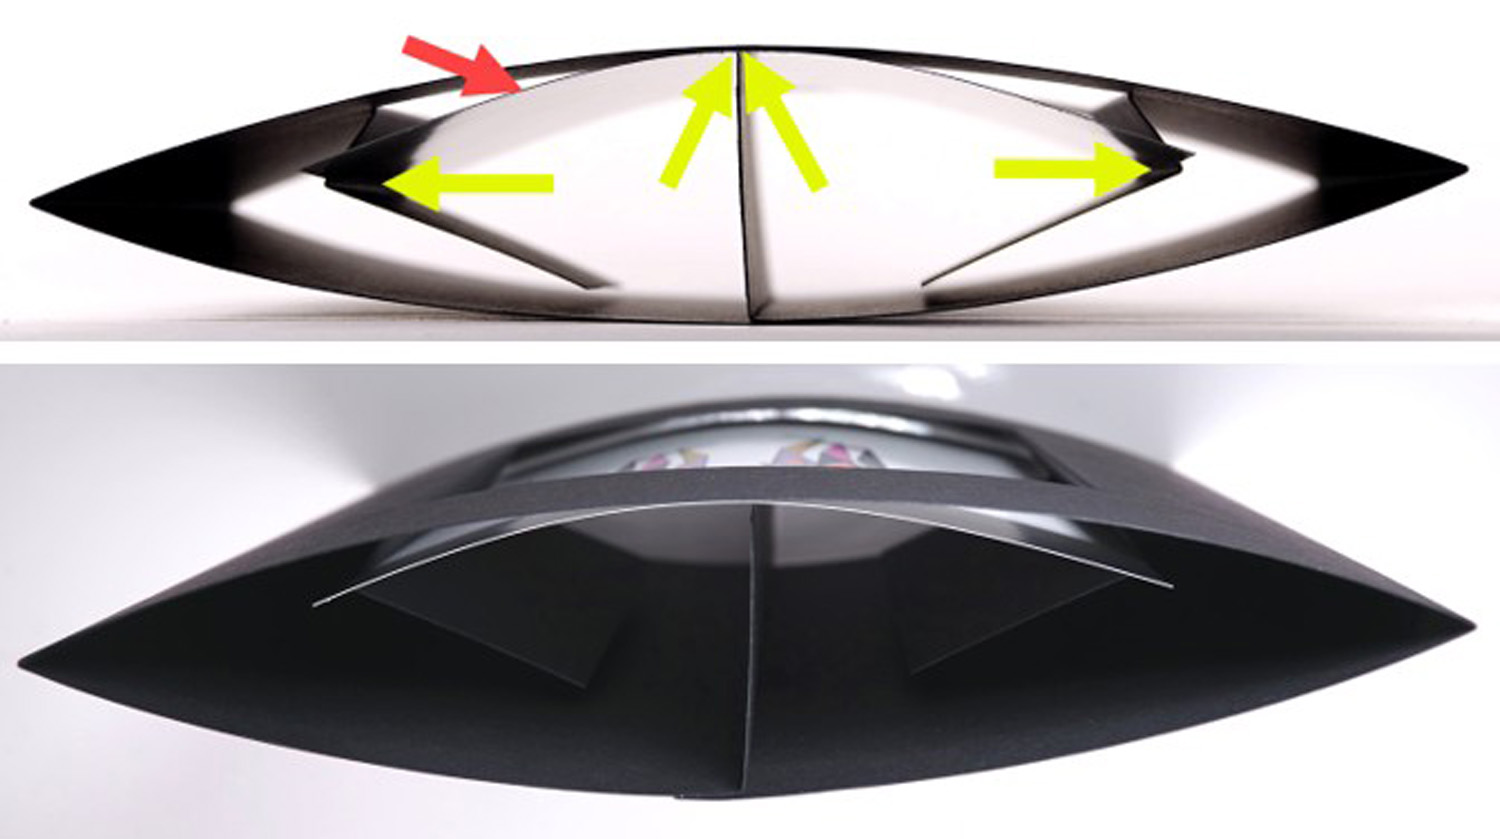
The frame system is compatible with prints, photographs or handmade pieces measuring 14 x 17.5 cm (marked with the red arrow) – these are simply slid into the frame system from the top.

To do this, bend the item slightly and carefully slide it downwards between the front of the frame system, the two angular side brackets and the rear section, which has been folded down by 90° along the perforated line, creating a beautiful three-dimensional effect that allows the image to be presented to great effect in the front, square cut-out of the frame system measuring 12 x 12 cm.

… together we are stronger